In this post I will show you how to use different libraries so you can get a rough idea of how to work with them. These are only very simple examples. Please check out the docs to get to know more.
Before you are going to scrape a site, it's always a good idea to check, if they offer an API or a RSS feed. Working with selectors has the big disadvantage that you have to adjust your scraper every time the structure of the site changes. If you are going to scrape a site very heavily, it is also nice to provide some information (for example your contact data) in the User-Agent.
If you don't want to use a library you could also build your own scraper with modules like request and cheerio for example. There are good articles out there that show you how.
If you have any questions just leave a comment or contact me via twitter.
Help! I am not a coder!
That's not a problem at all! You can use scrapers with an user interface like parsehub, kimono or import.io without writing one line of code.
noodle
Noodle is a very powerful library you can use in two ways. On the one hand as a web service, you can setup locally and on the other hands programmatically like a normal Node module. It also has a built-in cache which makes requests very fast.
Installation
npm install noodlejs
As a webservice
If you want to use noodle as a webservice you need to start it with
bin/noodle-server. After that you can send GET or POST requests with a query. This is an example of a POST request body:{"url": "http://site-you-wanna-scrape.com","type": "html","selector": "p.article","extract": "text"}
As a result you would receive the text of all paragraphs that have the class "article".
As a Node module
If you want to use Noodle as a Node module it's working very similar:
var noodle = require('noodlejs');noodle.query({url: 'http://site-you-wanna-scrape.com',type: 'html',selector: 'p.article',extract: 'text',}).then(function (results) {console.log(results);});
You could also pass a HTML string to select certain data from it:
noodle.html.select(htmlString, {selector: 'p.article',extract: 'text',}).then(function (result) {console.log(result);});

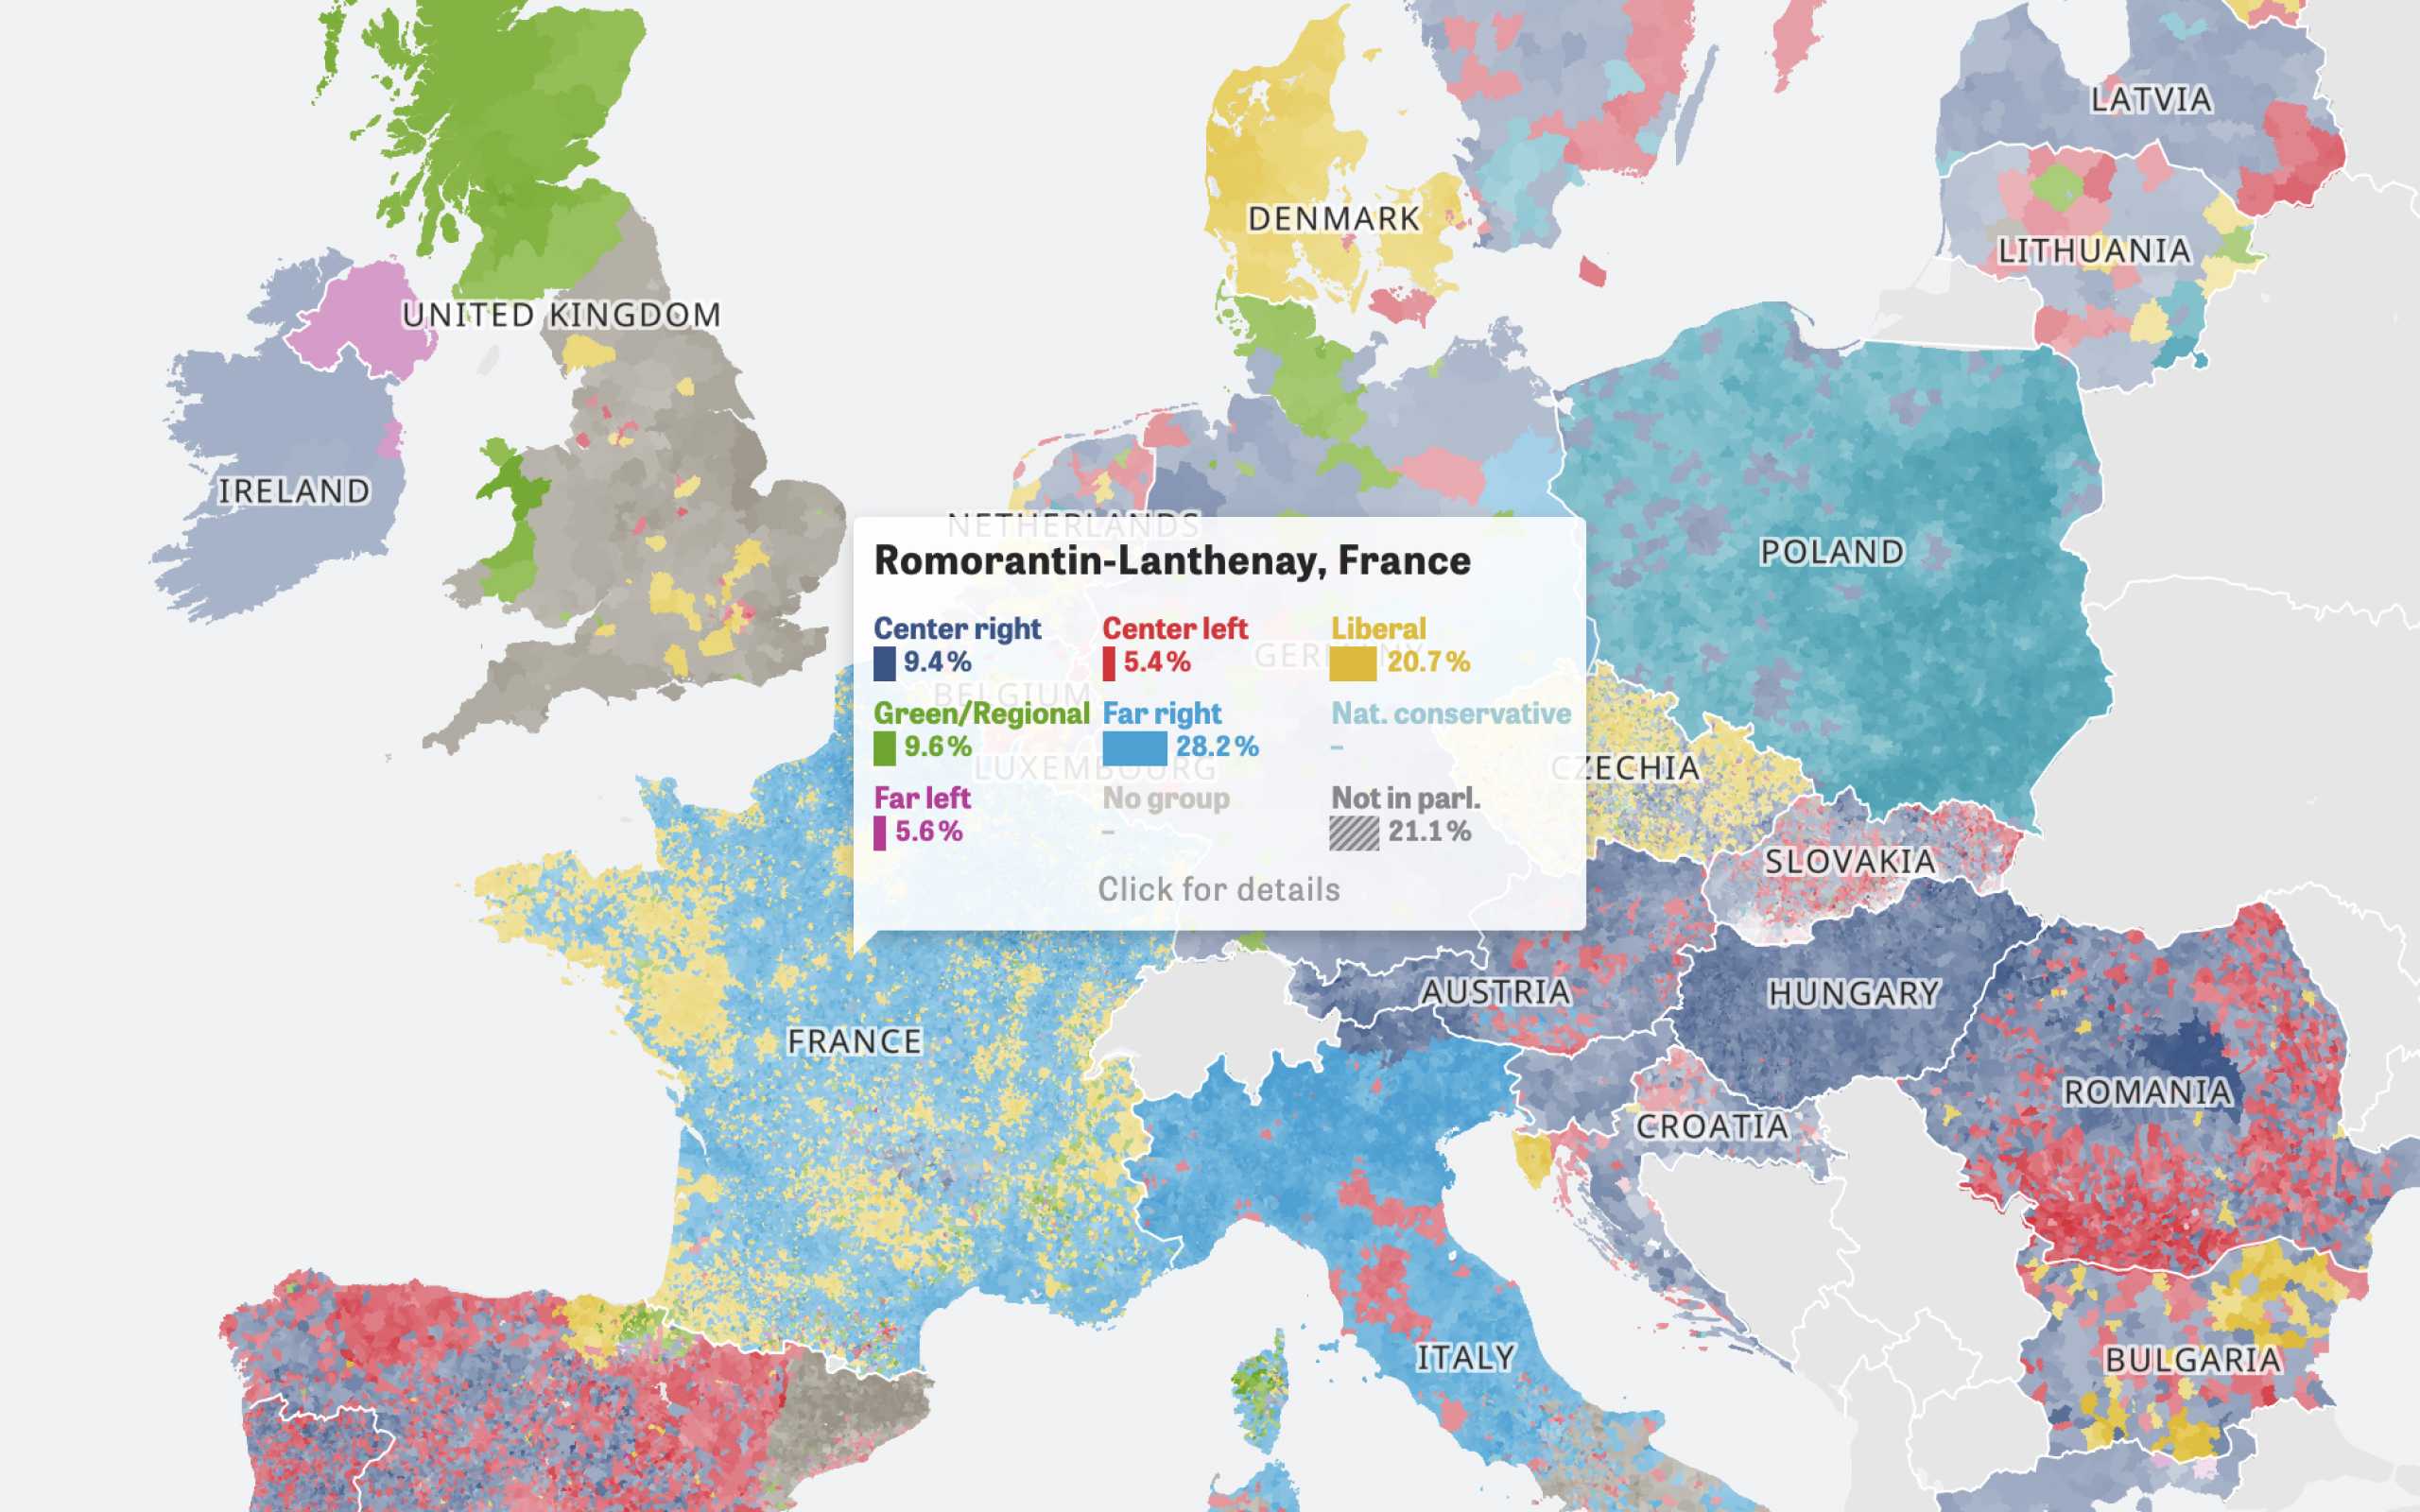
Colors Of Europe
Interactive Data Visualization (Zeit Online)
Are you interested in a collaboration?
We are specialized in creating custom data visualizations and web-based tools.
Osmosis
Osmosis is a very new library (first commit in Febraury 2015) that seems very promising. It has no dependencies like cheerio or jsdom, a very detailed reporting and much more cool features.
Installation
npm install osmosis
Usage
var osmosis = require('osmosis');osmosis.get('http://site-you-wanna-scrape.com') // url of the site you want to scrape.find('p.article') // selector.set('article') // name of the key in the results.data(function (results) {//outputconsole.log(results);});
With Osmosis it's also really easy to follow links by using the
follow function:osmosis.get('http://site-you-wanna-scrape.com').find('a.article').set('articleLink').follow('@href') // <-- follow link to scrape the next site.find('.article-content').set('articleContent').data(function (results) {//outputconsole.log(results);});
x-ray
X-ray has an schema based approach for selecting the data. More over it comes with pagination support and you can plugin different drivers for handling the HTML (currently supports HTTP and PhantomJS).
Update: x-ray changed it's API and now also supports crawling. We updated the usage part.
Installation
npm install x-ray
Usage
var Xray = require('x-ray');var x = Xray();x('https://site-you-want-to-scrape.com', '.articles', [{title: '.article-title',image: '.article-image@src',},])(function (err, result) {console.log(result);});
You can pass an URL or an html string followed by an optional scope and a selector. In this case you would receive an array with the certain project titles and images. A nice feature is also that you can use the write function to create a file or a readable stream with the result. For example writing all links of a page in a certain file:
var Xray = require('x-ray');var x = Xray();x('http://site-you-want-to-scrape.com', 'a', ['@href']).write('./all-links.json');
yakuza
If you want to build a large scraper that has a lot of different steps to do, yakuza could be your choice. With Yakuza you organize your project into scraper, agents and tasks. Normally you will have one scraper with multiple agents that handle multiple tasks. The scraper is a kind of main of your project and the agents manage (define order, run sequentially/parallel, ...) the different tasks.
Installation
npm install yakuza
Usage
This is a quick example. Please check out the Readme to get to know more.
var Yakuza = require('yakuza');var cheerio = require('cheerio');// define the main-scraperYakuza.scraper('siteName');// define agents with their tasksYakuza.agent('siteName', 'articleFetcher').plan(['getArticles']).routine('getArticles', ['getArticles']);// define tasksYakuza.task('siteName', 'articleFetcher', 'getArticles').main(function (task, http, params) {http.get('http://www.site-you-want-to-scrape.com', function (err,res,body) {if (err) {return task.fail(err, 'Request returned an error');}var $ = cheerio.load(body),articles = [];$('p.article').each(function (i, article) {articles.push($(article).text());});task.success(articles);});}).hooks({onSuccess: function (task) {console.log(task.data); // prints the found articles},});// create a new job and start itvar job = Yakuza.job('siteName', 'articleFetcher');job.routine('getArticles');job.run();
ineed
I put this library at the end of the list, because it's a bit different from the other ones. Ineed doesn't let you specify a selector to get your data, but the specific kind of data (images, hyperlinks, js, css, etc) you want to get from a site.
Installation
npm install ineed
Usage
If you want to collect all images and hyperlinks from a site you could do this:
var ineed = require('ineed');ineed.collect.images.hyperlinks.from('http://site-you-want-to-scrape.com',function (err, response, result) {console.log(result);});
If the built-in plugins for collecting data are not enough, you can extend Ineed by writing your own plugins.
Further Reading
